Last updated: 1 May 2023
Choosing the right hammer with the appropriate features can make a significant difference in completing a job successfully. There are several common types of hammers available, with some specifically designed for particular tasks. It’s essential to understand the differences between hammer types and their features to select the right one for your job. Read on to learn more.
Claw Hammer
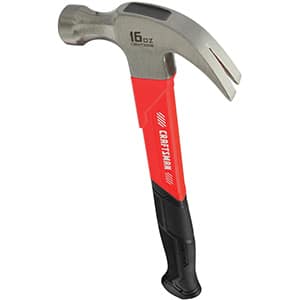
A claw hammer gets its name from the deeply curved claw. It’s a go-to for many jobs around the house. A light-duty version is useful for hanging pictures and tasks where you’re driving in a small nail.
On a big job, a heavy-duty hammer is more durable and does part of the work for you. You’ll need one to drive large nails into hard surfaces. Or when you’re tearing apart or building anything.
Rip Claw Hammers and Framing Hammer
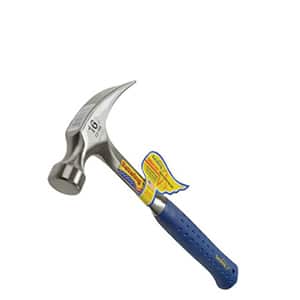
Rip claw hammers and framing hammers have specific features that make them ideal for demolition and construction projects. A straighter claw is beneficial for accessing tight corners or wedging between boards to rip them apart. Some hammers feature an hourglass shape that directs more force towards the hammer’s face. A larger face is also helpful for driving larger diameter nails with ease. Understanding these features can help you select the right hammer for your project.
A grid pattern on the Hammers face helps prevent it from glancing off the surface as you strike the head of the nail. It’s a good feature to have if you’re a beginner. Pulling nails is a common task when you’re framing out a wall. So you usually see a long handle that’s shaped and attached more like a hatchet handle that gives you extra leverage.
Pulling nails is a common task when you’re framing out a wall. So you usually see a long handle that’s shaped and attached more like a hatchet handle that gives you extra leverage.
Tack Hammer
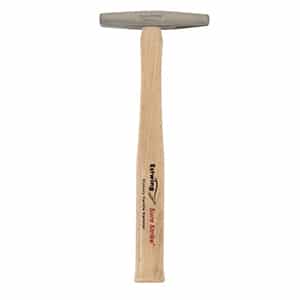
Tack hammer is light and angular allowing for precision. It’s used mainly for mending upholstery.
Rubber Mallet
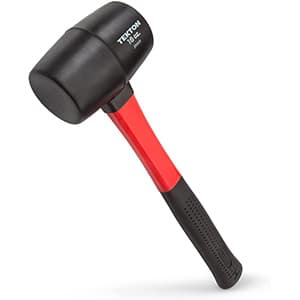
A rubber or plastic mallet also comes in handy when fixing or assembling furniture. Use it to knock apart pieces or tap them together without marring the surface.
Dead Blow Hammer
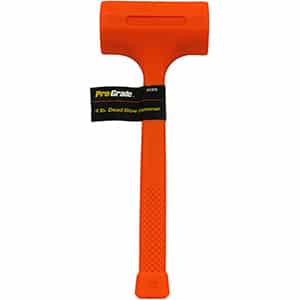
Now a dead blow mallet won’t bounce back like a rubber or plastic mallet because it has metal shot inside that comes down as you strike the surface deadening the blow. It’s a very specialized tool use mainly in auto bodywork and some woodworking.
Ball Pein Hammer
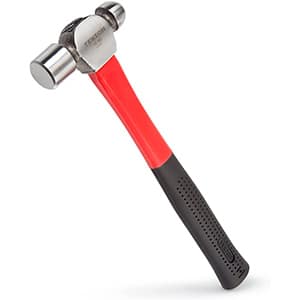
A ball pein hammer isn’t a typical tool for the do-it-yourselfer. The ball-shaped face concentrates force and is less likely to shatter or chip. When driven against extremely hard surfaces like metal. It’s mainly used in automotive or even an HVAC work when you’re shaping metal ductwork.
Helpful Tips
Here are some more helpful tips to help you choose a hammer:
- If the face is too small that’s when you end up skipping off the nail head and denting the surface. So for thick nails and harder surfaces you want a wider face and a heavier duty hammer. Just don’t pick one that’s too heavy for you to keep control of. A good choice when you want a lighter tool that swings like a heavier one.
- A milled face can help grip nails but it can leave a waffle pattern on the surface if you miss the mark.
- Use a smooth-faced hammer when you’re driving nails into softwood like cedar for a deck or siding.
- Choose a handle that’s comfortable in your hand and durable enough for the job:
- A one-piece metal handle is most durable.
- A fiberglass handle is lighter and absorbs some of the vibrations.
- A wooden handle is easy to replace if it breaks or cracks.
Final Thoughts
Always follow the manufacturer’s recommended safety precautions and instructions for the products you use.
I hope you picked up a thing from this guide. If you got any questions or comments leave them down below. I’ll answer them all the best I can and as always thank you for reading.

Leave a Reply