Last updated: 1 May 2023
While some people may prefer to use drywall joint paper tape, it can be more challenging to work with compared to drywall mesh tape. The tricky part is removing excess adhesive without creating wrinkles or applying too much pressure, which can cause the tape to buckle in dry areas. When considering the issues that come with using paper tape, it’s worth considering the added cost of fiberglass tape. In the long run, it may be a more efficient and cost-effective option.
If you’re buying drywall tape, be sure the box says it’s self-adhesive. Whereas the non-adhesive variant is in short supply, acquiring a roll might be a rude awakening. To remove drywall tape, please ensure you have a sharpened pocket knife blade on hand. A worn-out blade will catch the strands or skim over the cloth.
Think about purchasing tape dispensers when you’re working on a significant assignment. It’s a handy tool for smooth lines and inner edges alike. We’ll teach you about using drywall tape efficiently in this post. Let’s begin!
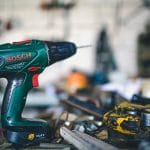
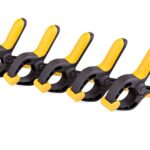
The Tools You’ll Need
- Utility knife or drywall knife
- Drywall mesh tape
- Mud pan
- Drywall compound
In addition to these, it’s essential to know that putting sand in drywall generates plumes of powdered dust. Thus safety glasses, clothes, and a respiratory mask are required.
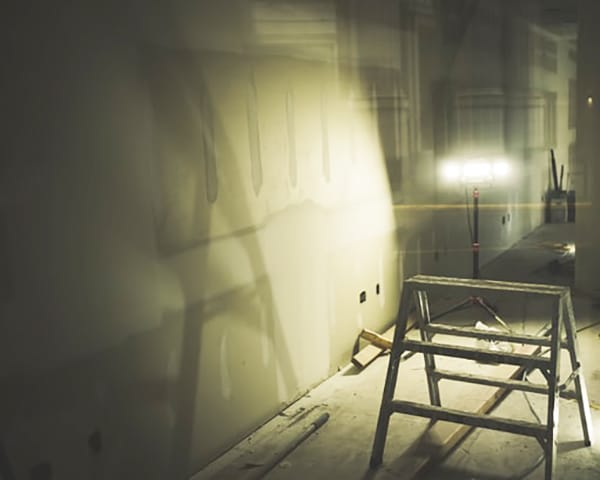
Steps to Use Drywall Mesh Tape
Step 1: Fill in the Gaps
You’ll have to fix any holes that are 1/4-inch or larger when putting tape. Even though an all-purpose ready-mixed solution might be used for this stage, the thick coating may require a longer duration to settle, causing your task to be delayed. As a result, the optimum option is a setting-type combination with a brief duration.
Step 2: Repair the Wall
The very next stage is to fix leakages, miscuts, as well as other damages. In many cases, incautious treatment during placement led to a ripped paper, revealing the plasterboard structure.
To repair a damaged area on drywall, use edge-to-edge drywall tape sheets and apply a thin layer of joint compound over the tape. It’s recommended to use a setting-type joint compound for this step.
Step 3: Apply the Tape
It’s pretty simple to implement fiberglass tape. Its breadth should be centered over the drywall seam, and it should be securely pressed down. Your fingernails will be protected against damage if you use a glove on your press-down palm.
Using a sharpened utility knife, slice the tape. Place the tape to the tapering joints first, then cut the tapes from each wall inside or outside edges.
Step 4: Cover the Edges
Push fiberglass tape into inner edges with a 6-inch taping blade, then gently push two sides down. Maintain the mesh centered in the corner for optimal strength on them. Place that coat of tape over the tapering edges which you previously applied.
Step 5: Mud Over the Tape Immediately
Because fiberglass tape has weak adhesion, it’s not a good idea to rely on it for a prolonged time than required, particularly on ceilings. When you’ve finished taping an area, apply the initial solution layer to incorporate the tape fully.
Conclusion
Congratulations, you now have a step-by-step guide on how to patch up holes in your bedroom wall, apartment wall, or even kitchenette walls. However, it is important to note that this process is not as easy as it may seem at first glance. It is crucial to have a good understanding of the process before starting the job.
In this article, we have covered basic details which can undoubtedly do the job for you. If you want effectiveness and want your walls to look all neat and fresh, using the drywall mesh tape adequately is your way to go. It takes skills to ensure your walls depict a professional appearance. We hope that our method will make patching up home walls easier for you the future endeavors. Good luck!

Leave a Reply